Hogwarts
TypeScript 시작하기 (with Node.js)
Hello world! TypeScript!!
1. node 설치하기
brew install node

node -v
npm -v
패키지 매니저로 yarn을 이용할 경우 추가로 설치한다.
brew install yarn
2. node 환경 구성하기
1. 디렉토리 생성하기
node 디렉토리로 사용할 경로를 만들어야한다.
이때 주의할 점은 url friendly하게 경로를 생성한다.
non-case-sensitive,non-space를 의미한다. 즉,Camel Case같은 것은 사용하지 말 것.
2. npm init
npm init
package.json 파일이 생성되는지 확인한다.
3. 라이브러리 설치하기
npm i -D typescript ts-node @types/node @types/ejs @types/express nodemon npm-run-all rimaraf
npm i -S ejs express
기본적으로
TypeScript를 사용할 때 기존JavaScript에서 사용하던 라이브러리는 모두 앞에@types/를 붙인다고 생각하면 된다.
이 예제는 별도의webpack없이 웹 브라우저에 제공될.ts만.js로 트랜스파일 해dist에 떨굴 것이다.
- typescript : 웹 브라우저는 TypeScript 를 직접 읽을 수 없다. 따라서 TypeScript 를 JavaScript 로 transpile 을 해줘야한다.
- ts-node : tsc & node 명령을 한 번에 수행한다.
- @types/node : Node.js 또는 웹 브라우저가 기본으로 제공하는 타입들의 존재를 인식하도록 해준다(미설치 시
Promise와 같은 타입을 인식하지 못한다). - @types/ejs : ejs template
- @types/express : backend server
- nodemon : 소스코드 수정 시 자동으로 재시작 하도록 한다(비슷한 라이브러리로 supervisor 가 있다).
4. tsc –init
npm --init
package name, version, description, git repo, author, license 를 지정한다.
module은 기본값으로 commonjs로 되어있다. AMD나 ESNext를 사용하려면 변경한다.
5. main.html 생성
mkdir public && touch public/main.html
<!DOCTYPE html>
<html lang="en">
<head>
  <meta charset="UTF-8">
  <meta name="viewport" content="width=device-width, initial-scale=1.0">
  <meta http-equiv="X-UA-Compatible" content="ie=edge">
  <title>메인</title>
  <style>
      div {
          margin: 10px;
      }
  </style>
</head>
<body>
<h1>메인 페이지</h1>
<div>
  <button id="playground1">Playground 1</button>
</div>
<div>
  <button id="playground2">Playground 2</button>
</div>
<div>
  <button id="playground3">Playground 3</button>
</div>
</body>
<script>
  window.onload = () => {
    document.getElementById("playground1").addEventListener("click", () => {
      location.href = `${location.origin}/playground1`;
    }, false)
    document.getElementById("playground2").addEventListener("click", () => {
      location.href = `${location.origin}/playground2`;
    }, false)
    document.getElementById("playground3").addEventListener("click", () => {
      location.href = `${location.origin}/playground3`;
    }, false)
  }
</script>
</html>
6. head.ejs 생성
mkdir views && touch views/head.ejs
<meta charset="UTF-8">
<meta name="viewport"
      content="width=device-width, user-scalable=no, initial-scale=1.0, maximum-scale=1.0, minimum-scale=1.0">
<meta http-equiv="X-UA-Compatible" content="ie=edge">
7. view 생성
각 view 를 생성할 것이다. group1 디렉토리에는 playground1, playground2 를, group2 디렉토리에는 playground3 를 넣는다.
mkdir views/group1 && touch views/group1/playground1.ejs && touch views/group1/playground2.ejs
mkdir views/group2 && touch views/group2/playground3.ejs
<!DOCTYPE html>
<html lang="en">
<head>
    <%- include('../head.ejs') %>
    <title>playground1</title>
    <link rel="stylesheet" href="style/group1/playground1.css">
    <script src="js/group1/playground1.js"></script>
</head>
<body>

</body>
</html>
<!DOCTYPE html>
<html lang="en">
<head>
    <%- include('../head.ejs') %>
    <title>playground2</title>
    <link rel="stylesheet" href="style/group1/playground2.css">
    <script src="js/group1/playground2.js"></script>
</head>
<body>

</body>
</html>
<!DOCTYPE html>
<html lang="en">
<head>
    <%- include('../head.ejs') %>
    <title>playground3</title>
    <link rel="stylesheet" href="style/group2/playground3.css">
    <script src="js/group2/playground3.js"></script>
</head>
<body>

</body>
</html>
웹 브라우저는 TypeScript를 인식하지 못한다. 따라서 JavaScript로 트랜스파일 하고 그 파일을 제공할 것이기 때문에 .js를 요청한다.
8. TypeScript 생성
mkdir public/ts && mkdir public/ts/group1 && mkdir public/ts/group2
touch public/ts/group1/playground1.ts && touch public/ts/group1/playground2.ts && touch public/ts/group2/playground3.ts
9. CSS 생성
mkdir public/style && mkdir public/style/group1 && mkdir public/style/group2
touch public/style/group1/playground1.css && touch public/style/group1/playground2.css && touch public/style/group2/playground3.css
10. router 와 index.ts 생성
mkdir router && touch router/index.ts
// @ts-ignore
import express, {response} from "express";
import * as path from "path";

const router = express.Router();
const __dirname = path.resolve();

export default router;

router.get("/", (req, res) => {
    res.sendFile(path.join(__dirname, "public", "main.html"))
})

router.get("/playground1", (req, res) => {
    res.render(path.join(__dirname, "views", "group1/playground1.ejs"))
})

router.get("/playground2", (req, res) => {
    res.render(path.join(__dirname, "views", "group1/playground2.ejs"))
})

router.get("/playground3", (req, res) => {
    res.render(path.join(__dirname, "views", "group2/playground3.ejs"))
})
11. app.ts 생성
entry point 로 사용할 app.ts를 생성한다.
touch app.ts
// @ts-ignore
import express from "express";
import router from "./router/index";
import * as ejs from "ejs";

const app = express();
const port = 3000;

app.listen(port, () => {
    console.log(`Playground app listening at http://localhost:${port}`)
})

app.use(express.static("public"));
app.use(express.static("router"));
app.use("/scripts", express.static("node_modules"));
app.use("/js", express.static("dist"));
app.disable("etag");
app.set("views", "/views");
app.set("view engine", "ejs");
app.engine("ejs", ejs.renderFile);
app.use(router);
app.use("/scripts", express.static("node_modules")); 는 만약 ejs(html)에서 스크립트를 불러오는 코드를 사용할 때
<script src="scripts/chart.js/dist/chart.js"></script>
와 같은 방식을 사용할 수 있게 해준다.
마찬가지로 웹 브라우저에 제공될 .js 파일이 dist에 존재하므로 app.use("/js", express.static("dist"))를 이용해
접근할 수 있도록 한다.
12. package.json 설정
JavaScript playground 의 경우 "type": "module"를 추가했다. 하지만 tsc로 ES5를 타겟으로 트랜스파일 해 제공할 것이므로
"type": "module"를 추가하지 않는다. 이 설정을 추가할 경우 tsconfig.json에서 "module": "ESNext"를 설정해야하는데,
CommonJS 방식으로 돌아가는 express 서버와 호환이 잘 되지 않는 것 같다.
JavaScript playground 로 사용할 경우 위 설정을, TypeScript playground 로 사용힐 경우 아래 설정을 사용한다.
JavaScriptplayground
{
  "name": "js-playground",
  "version": "1.0.0",
  "description": "playground sample",
  "main": "app.js",
  "scripts": {
    "serve": "nodemon --watch 'src' --exec 'node' app.js"
  },
  "author": "",
  "license": "ISC",
  "devDependencies": {
    "ejs": "^3.1.8",
    "express": "^4.18.2",
    "nodemon": "^2.0.20"
  },
  "type": "module"
}
JavaScriptplayground 로 만들 경우, 위에서 설치한 라이브러리를 모두 삭제 후npm i를 이용해package.json설정 파일을 이용해 다시 설치한다.
TypeScriptplayground
{
  "name": "ts-playground",
  "version": "1.0.0",
  "description": "",
  "main": "app.ts",
  "scripts": {
    "clean": "rimraf dist",
    "start": "npm-run-all clean --parallel watch:build watch:server --print-label",
    "watch:build": "tsc --watch",
    "watch:server": "nodemon 'app.ts' --watch 'dist' --watch 'app.ts' --watch 'router'"
  },
  "author": "",
  "license": "ISC",
  "devDependencies": {
    "@types/ejs": "^3.1.1",
    "@types/express": "^4.17.15",
    "@types/node": "^18.11.18",
    "nodemon": "^2.0.20",
    "npm-run-all": "^4.1.5",
    "rimraf": "^3.0.2",
    "ts-node": "^10.9.1",
    "typescript": "^4.9.4"
  },
  "dependencies": {
    "ejs": "^3.1.8",
    "express": "^4.18.2"
  }
}
맥이나 리눅스 같은
Unix계열에서만 사용한다면,rimaraf라이브러리를 설치하는 대신"clean": "rm -rf dist"를 이용해도 된다.
13. tsconfig.json 설정
서버의 코드는 TypeScript에 대응되는 라이브러리를 사용하기 때문에 .ts로 존재해도 상관 없지만, 웹 페이지에 제공될 코드는 반드시
.js로 변환되어야한다.
- tsc –init 에의해 생성되는 초기 tsconfig.json
{
  "compilerOptions": {
    "target": "es2016",
    "module": "commonjs",
    "esModuleInterop": true,
    "forceConsistentCasingInFileNames": true,
    "strict": true,
    "skipLibCheck": true
  }
}
- 수정된 tsconfig.json
{
  "compilerOptions": {
    "target": "ES5",
    "module": "CommonJS",
    "moduleResolution": "Node",
    "baseUrl": "./",
    "paths": {"*":  ["node_modules/*"]},
    "sourceMap": true,
    "outDir": "dist",
    "downlevelIteration": true,
    "esModuleInterop": true,
    "forceConsistentCasingInFileNames": true,
    "strict": true,
    "noImplicitAny": true,
    "skipLibCheck": true
  },
  "include": ["public/ts/**/*.ts"],
  "exclude": ["dist", "node_modules"]
}
target,moduleResolution,baseUrl,paths,sourceMap,outDir,downlevelIteration,noImplicitAny이 수정되었다.
3. npm run
1. 터미널을 이용해 다음과 같이 서버를 시작할 수 있다.
npm run start
2. WebStorm(or IntelliJ) 의 npm Scripts 사용하기
package.json 파일을 열고 우클릭 해 npm Scripts를 툴바에 띄울 수 있다.
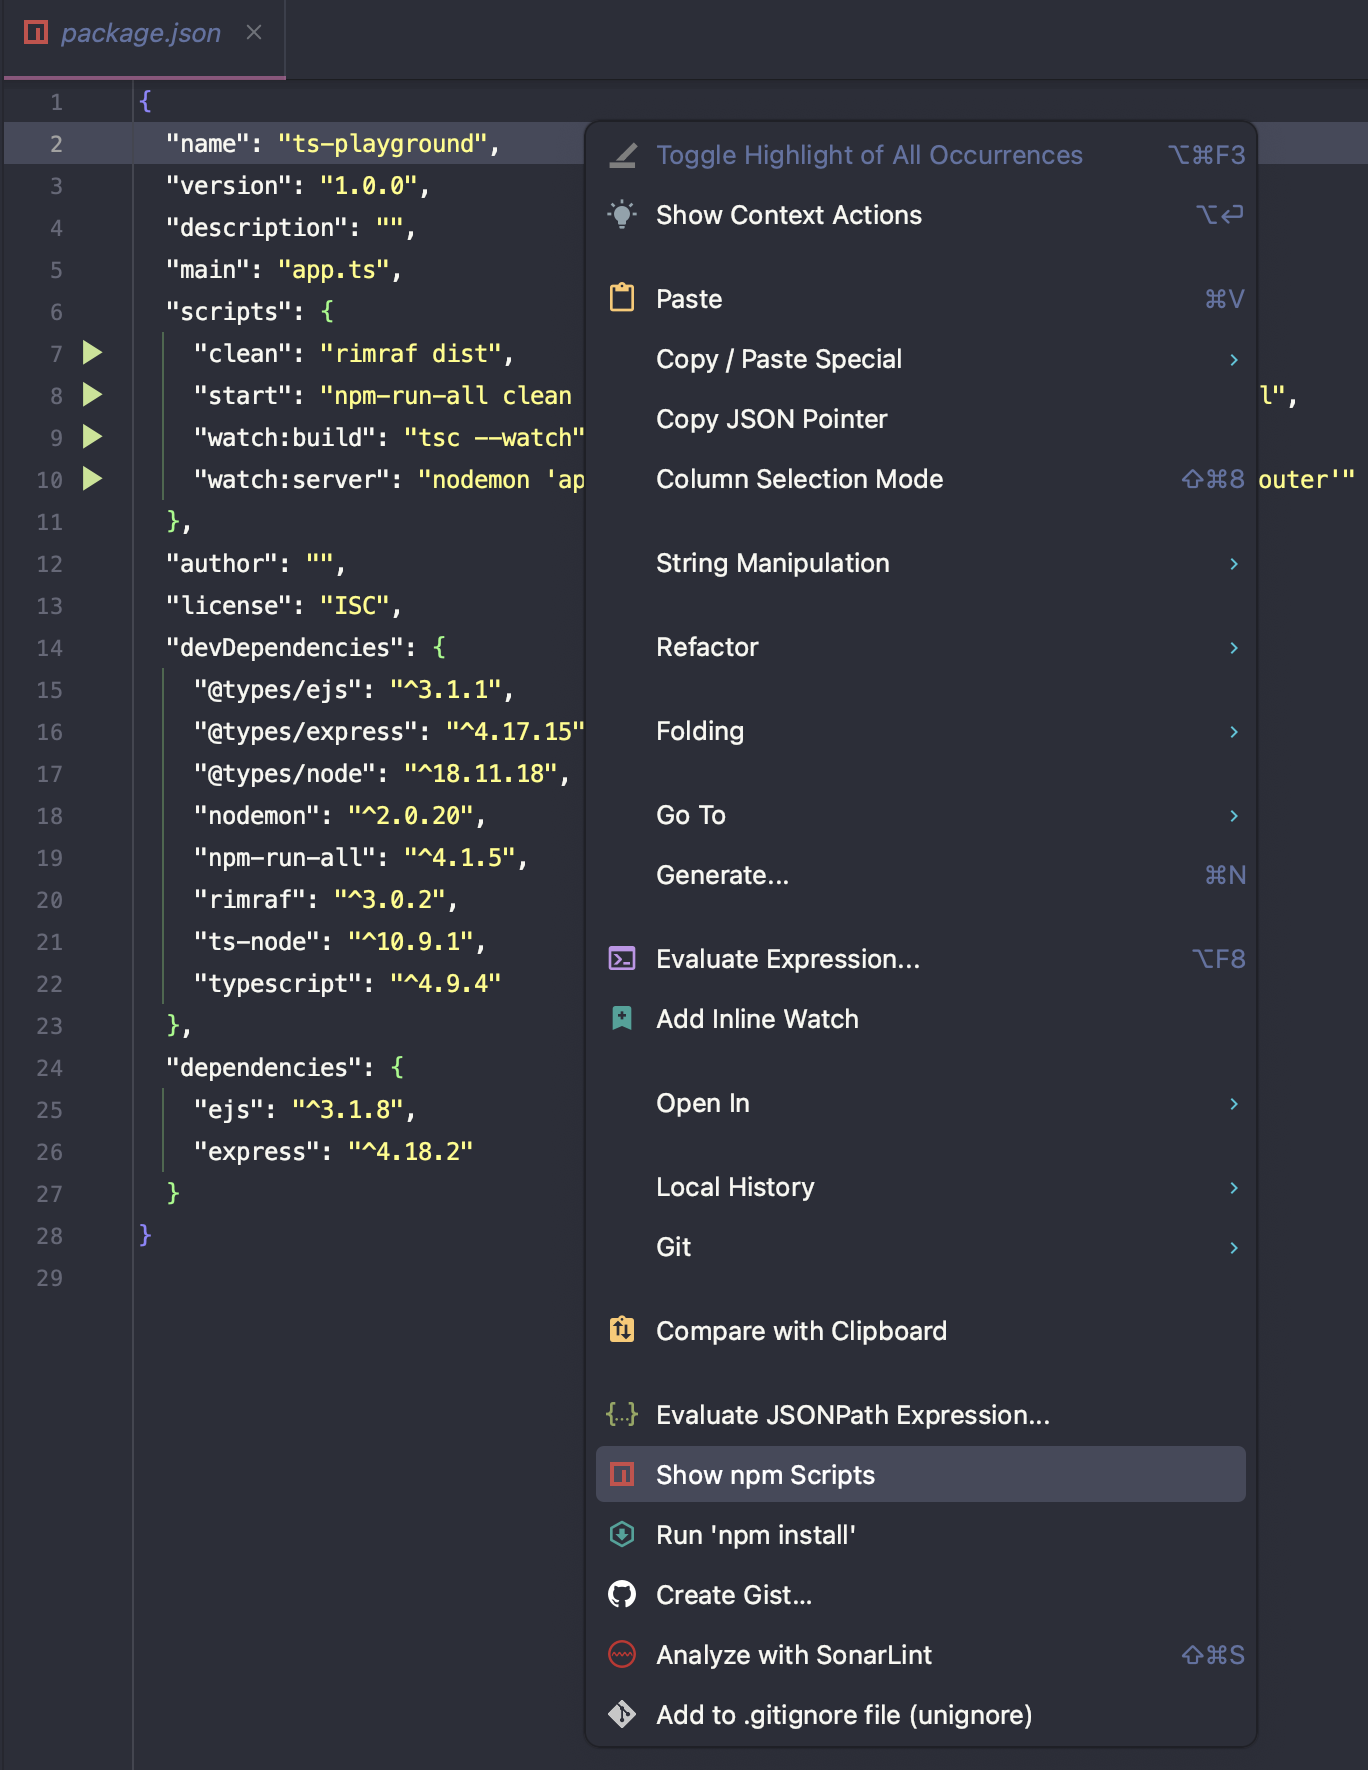
이제 툴바를 이용해 터미널을 직접 열지 않고 실행이 가능하다.

3. Run/Debug Configurations 사용하기
WebStrom 기준으로 Run/Debug Configurations에서 다음과 같이 설정한다.
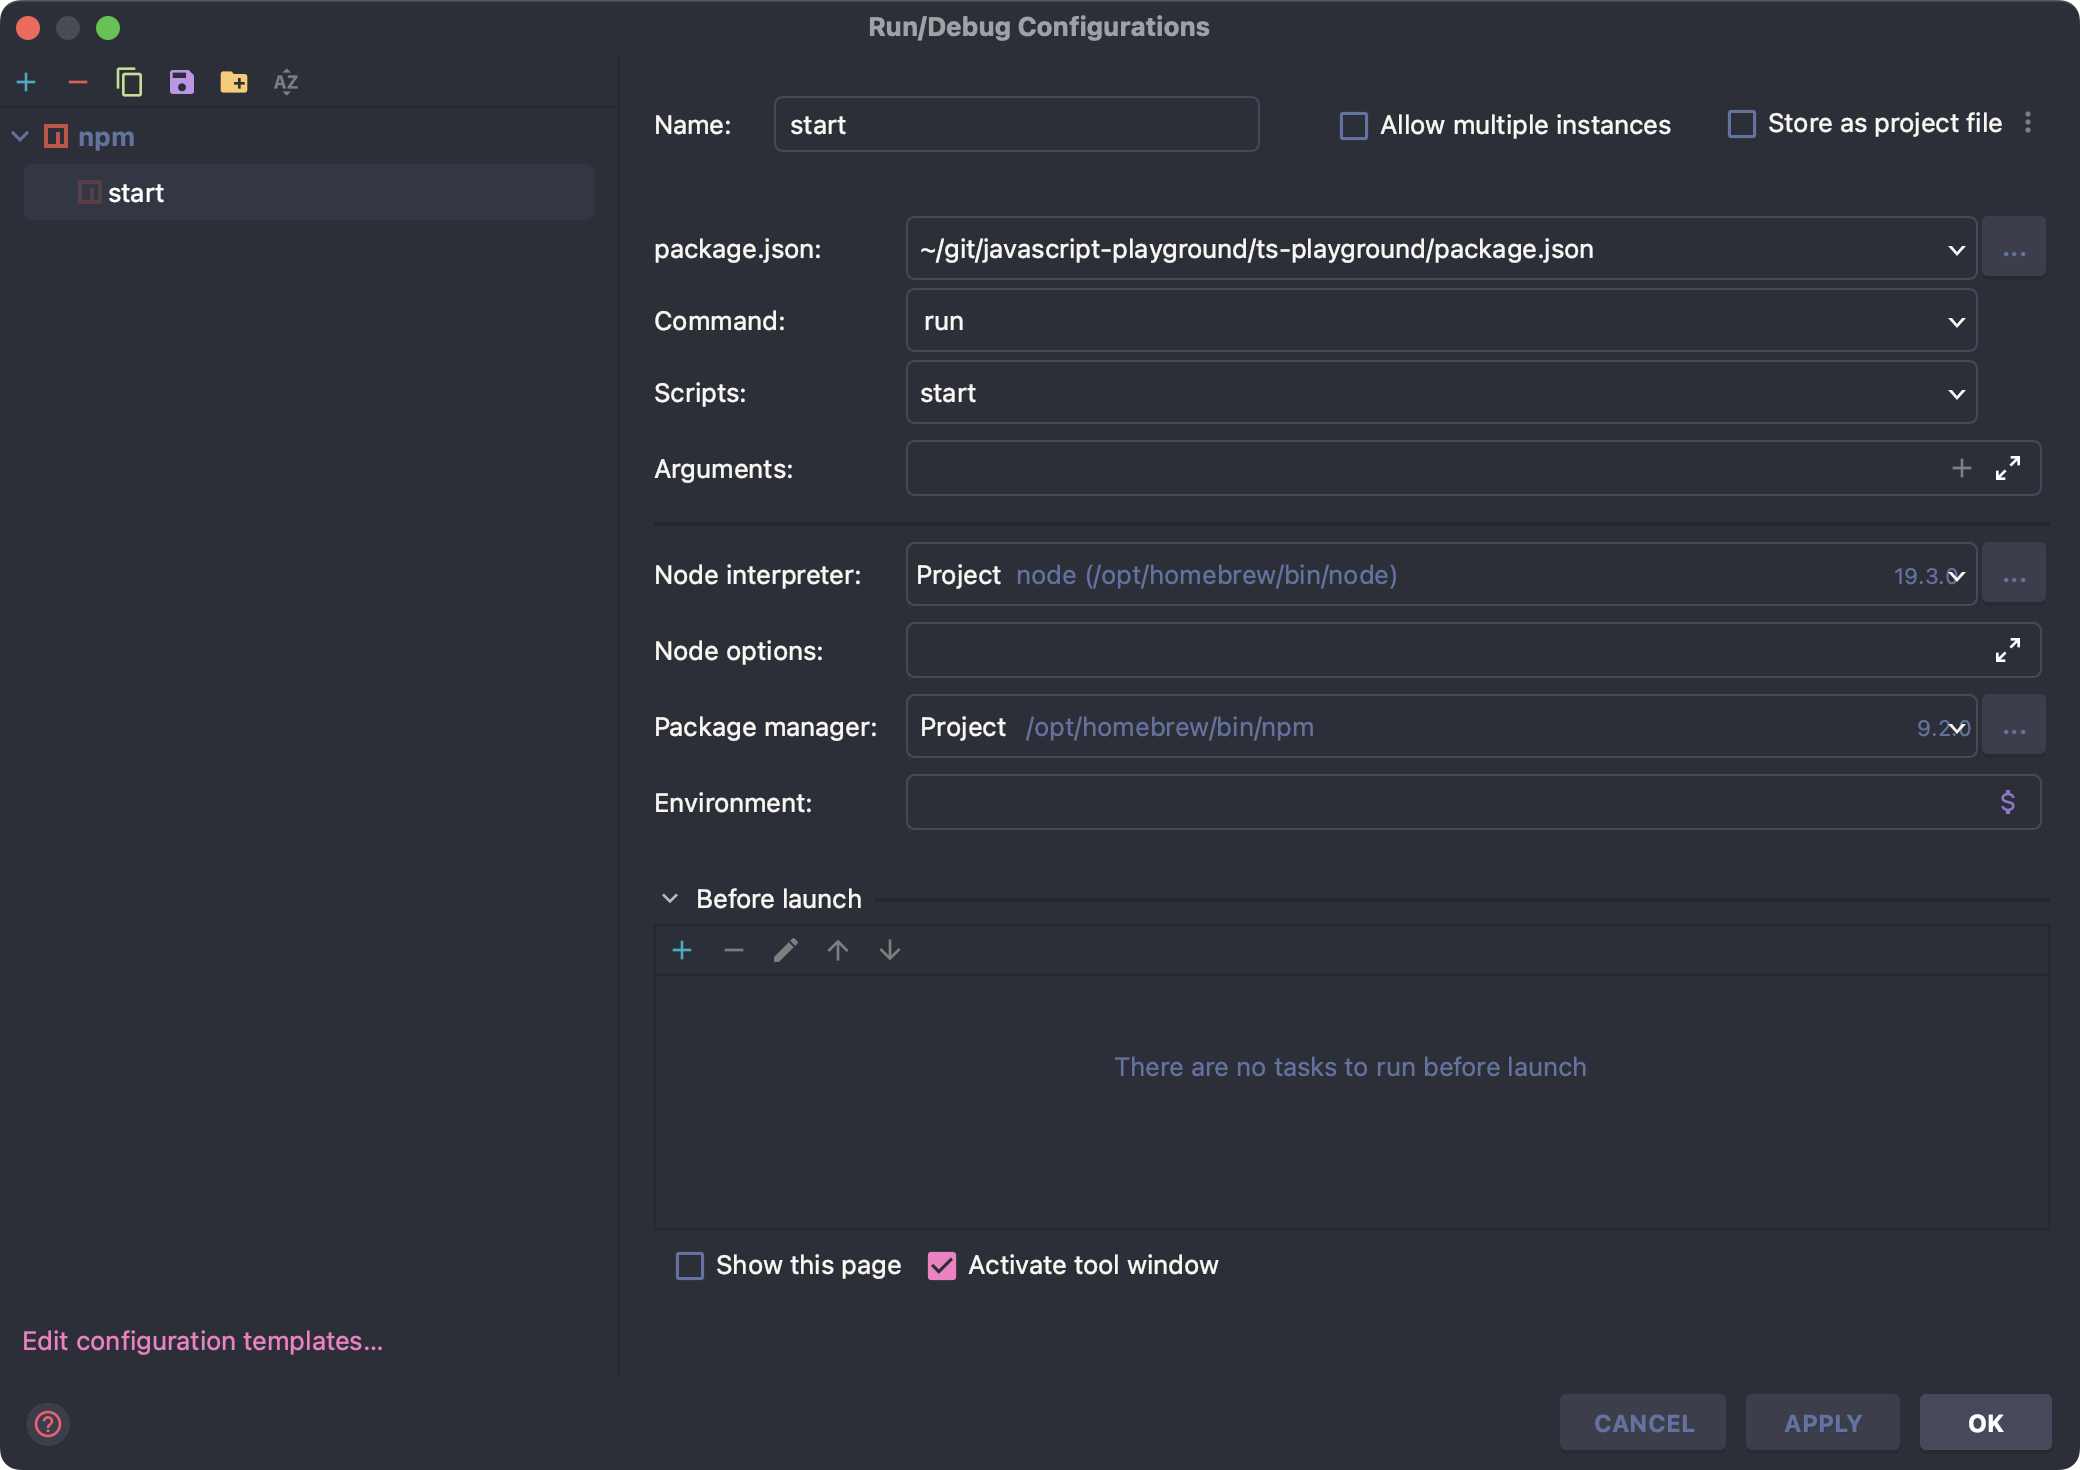
이제 Run과 Debug 모드로 실행할 수 있다.
4. Hello world
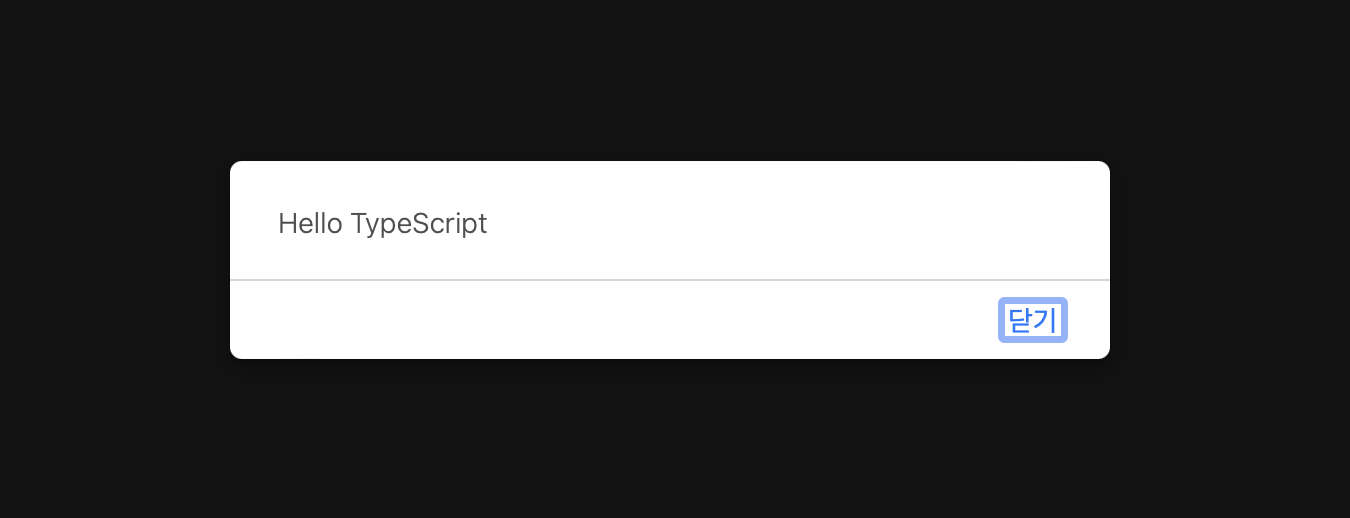
playground1.ts파일을 열고 다음을 저장한다.
const greeting: (name: string) => void = str => alert(`Hello ${str}`)

greeting("TypeScript")
서버를 시작 후 http://localhost:3000/playground1 에 접속하면 다음 메시지가 반겨준다.
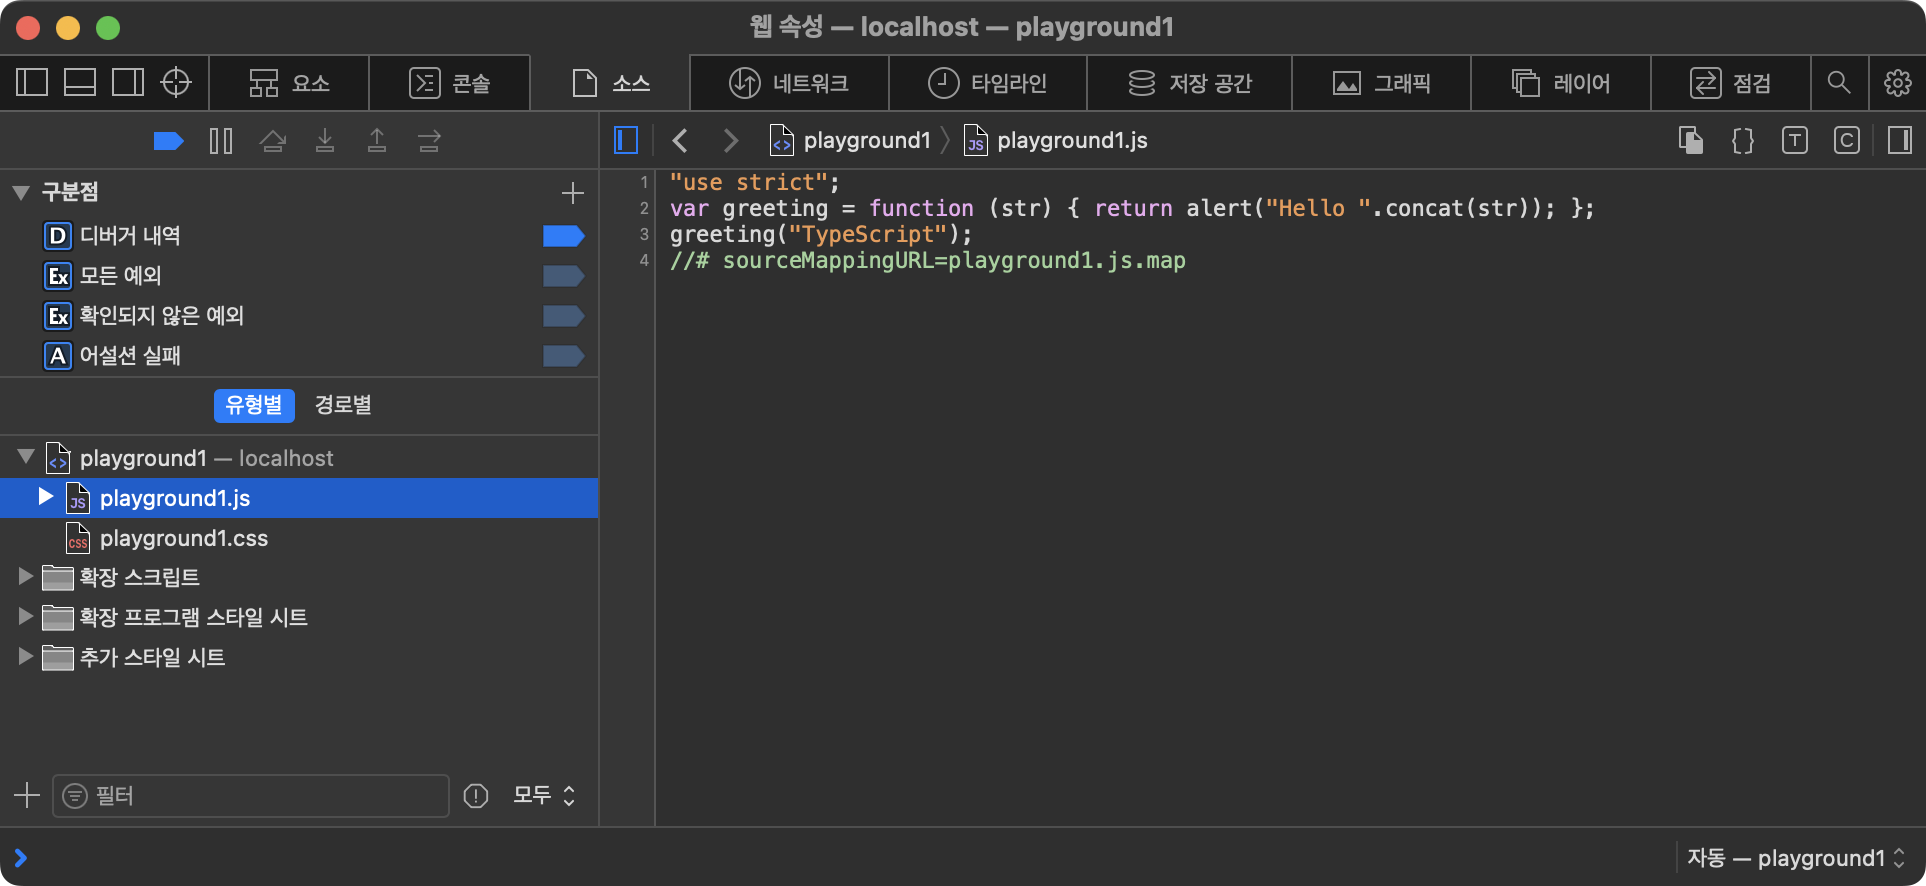
그리고 웹 브라우저가 전달 받은 JavaScript 소스를 확인해보면 다음과 같이 Transpile 된 것을 확인할 수 있다.
var greeting = function (str) { return alert("Hello ".concat(str)); };

greeting("TypeScript");